Multifunctional Bench
A journey through design thinking, creation, and purpose
🧠 Interpreting the Design Prompt
The challenge was to design a piece of furniture that was not only multifunctional but also addressed the principles of biophilia and sustainability. I began by researching modular furniture concepts and analyzing the needs of shared spaces such as dorms, studios, and outdoor environments. Incorporating all of these elements into one cohesive design was a complex task—but if done right, it could be incredibly efficient and impactful.
After gathering a wide range of inspirational images and design references, I settled on the idea of a bench. But not just any bench—a multifunctional bench with a pergola that could serve various purposes, connect people with nature, and reduce environmental impact.
💡 Creation Process
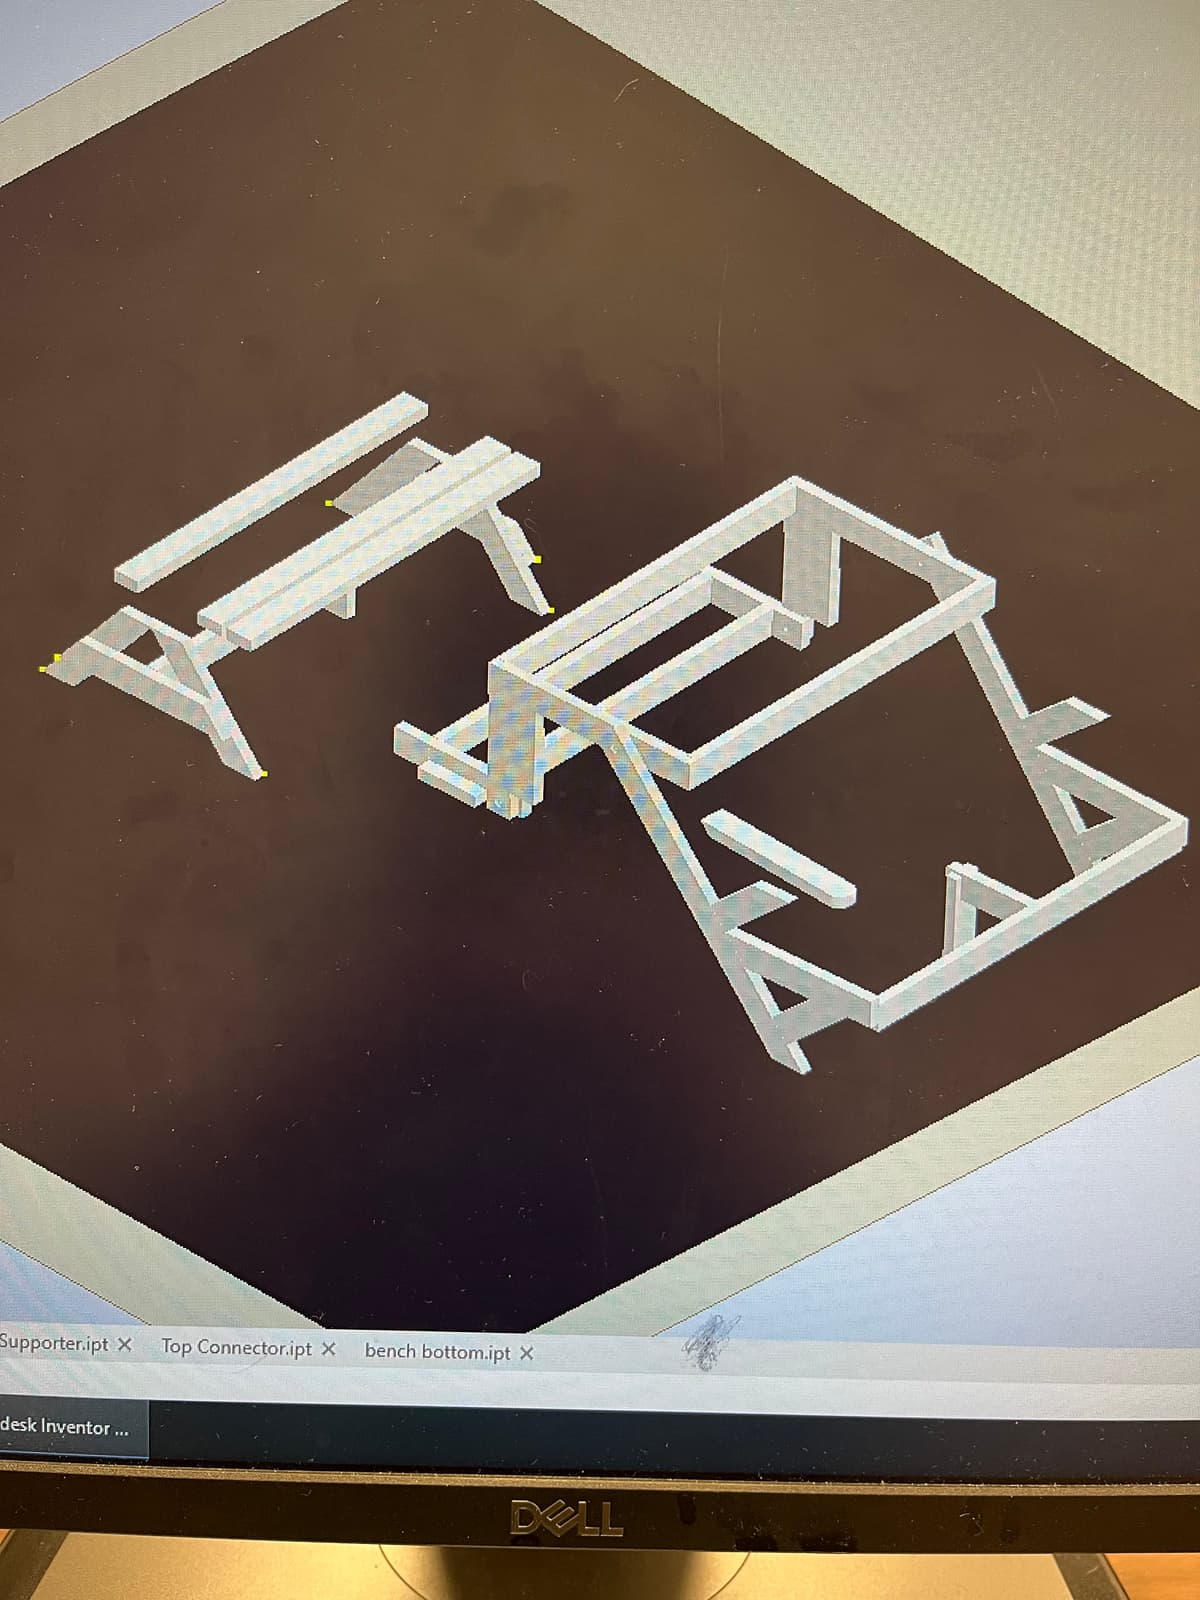
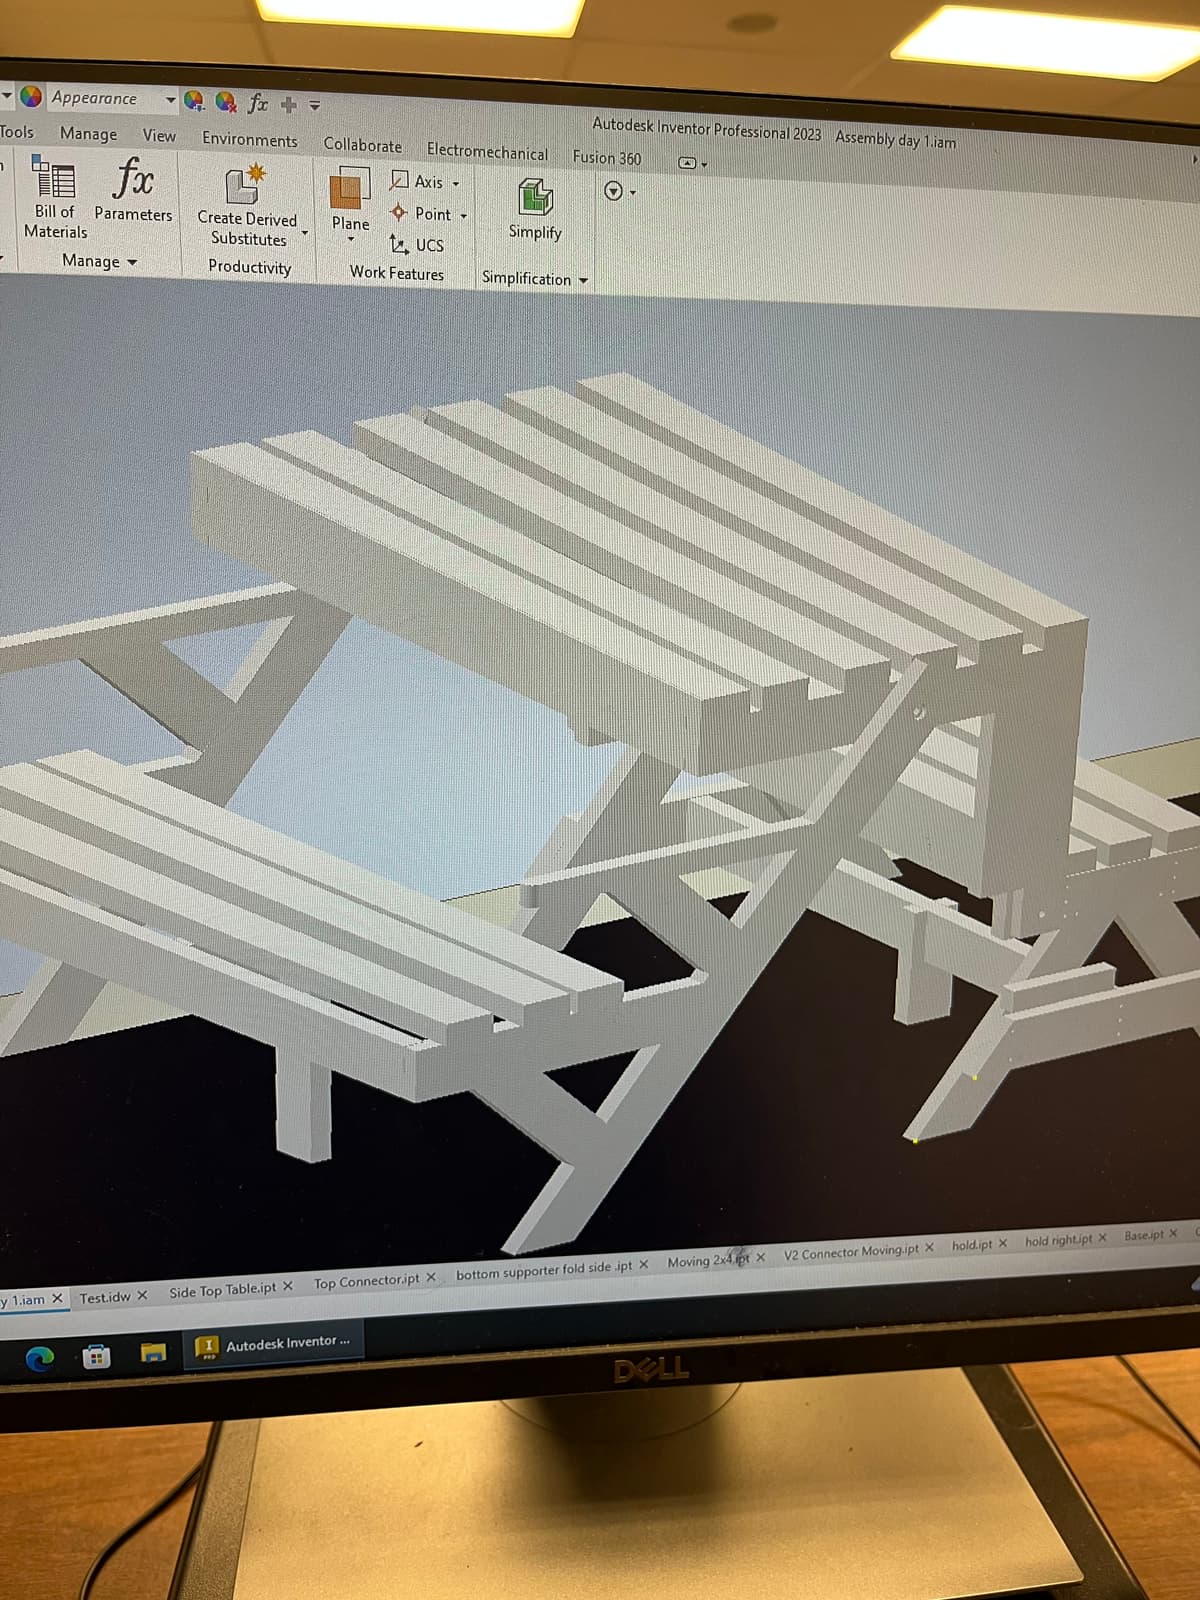
Using CAD tools and my strong spatial visualization skills, I designed 23 parts from scratch, drawing inspiration from an image of a folding mechanism I found online. Material selection played a key role in the process—I chose 2x4s due to their durability, ease of access, and sustainability. These materials were both eco-friendly and cost-efficient, making them ideal for this project.
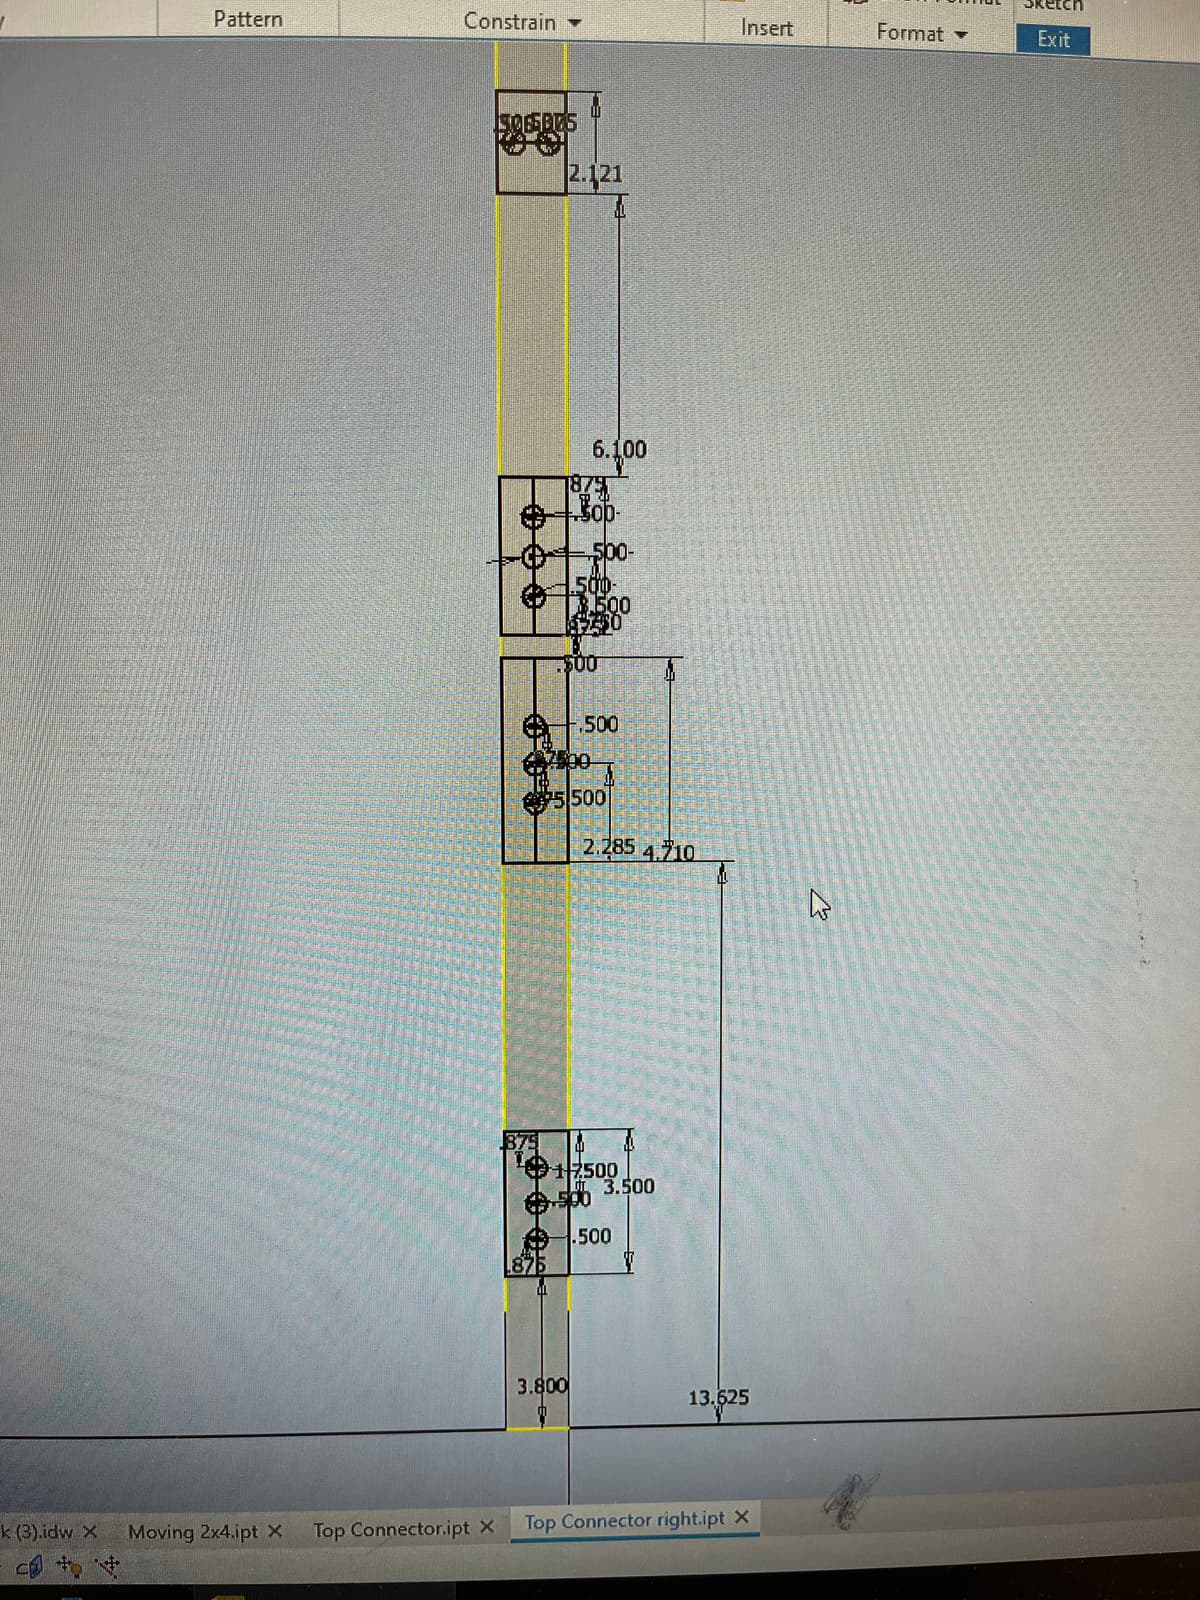
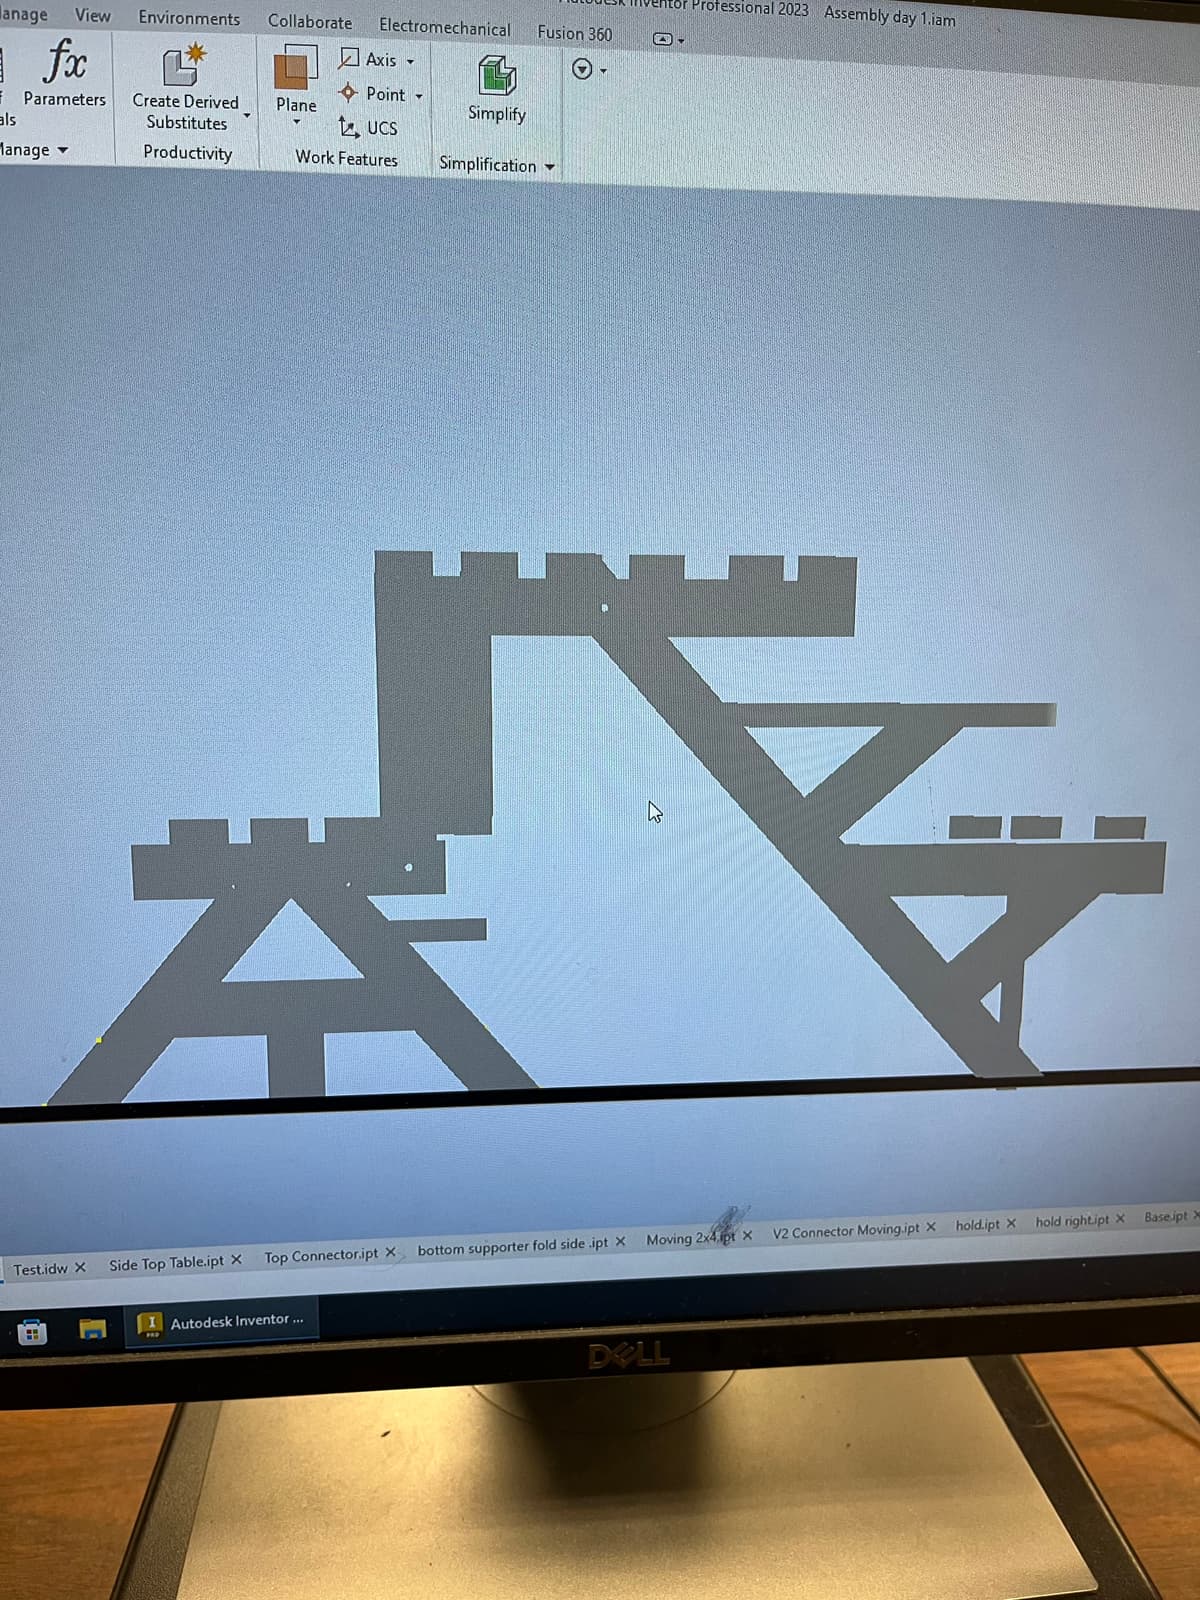
As I constructed each part digitally, I simultaneously developed an assembly view in Autodesk Inventor. This helped me catch critical issues like incorrect lengths, angles, and mismatched dimensions. Over the course of two weeks, I iterated through the modeling process, resolving constraint errors and refining dimensions until the entire 3D model was accurate and complete.
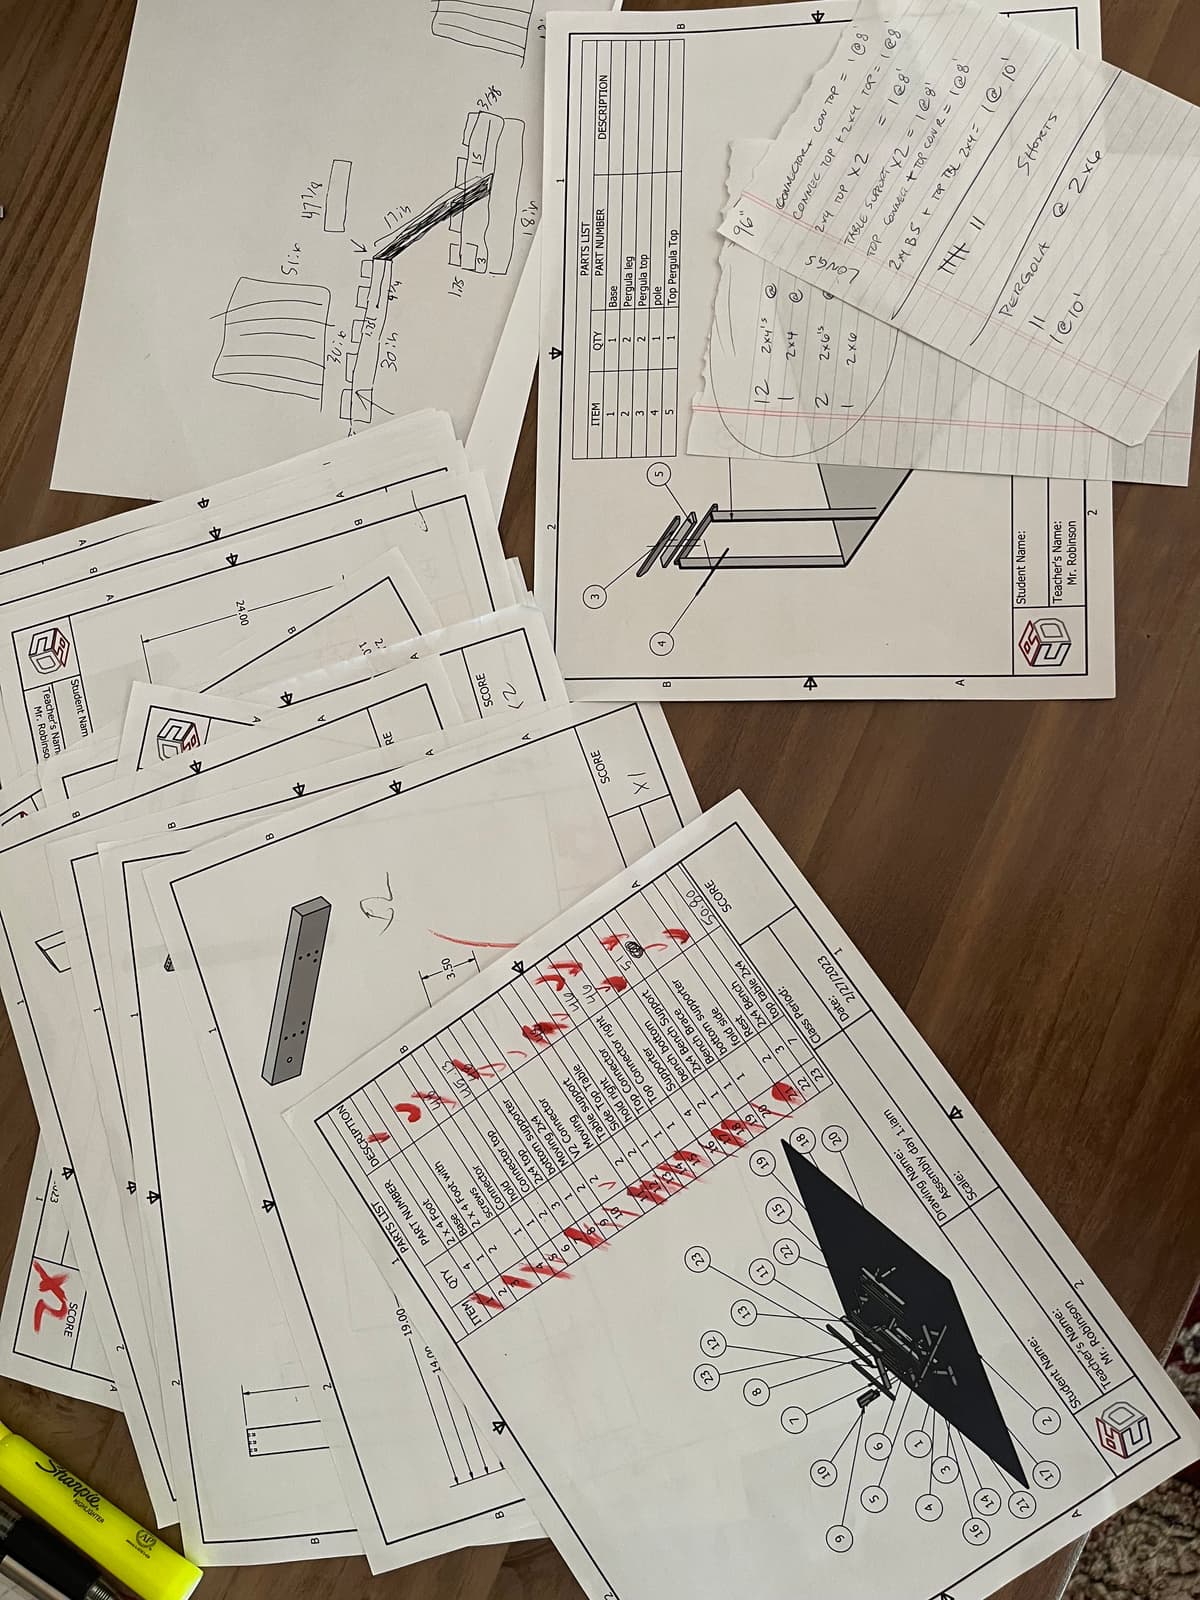
With all components finalized, I printed individual part sheets along with an exploded view of the full assembly. These documents allowed me to quickly estimate the amount of wood, screws, and bolts needed for construction.
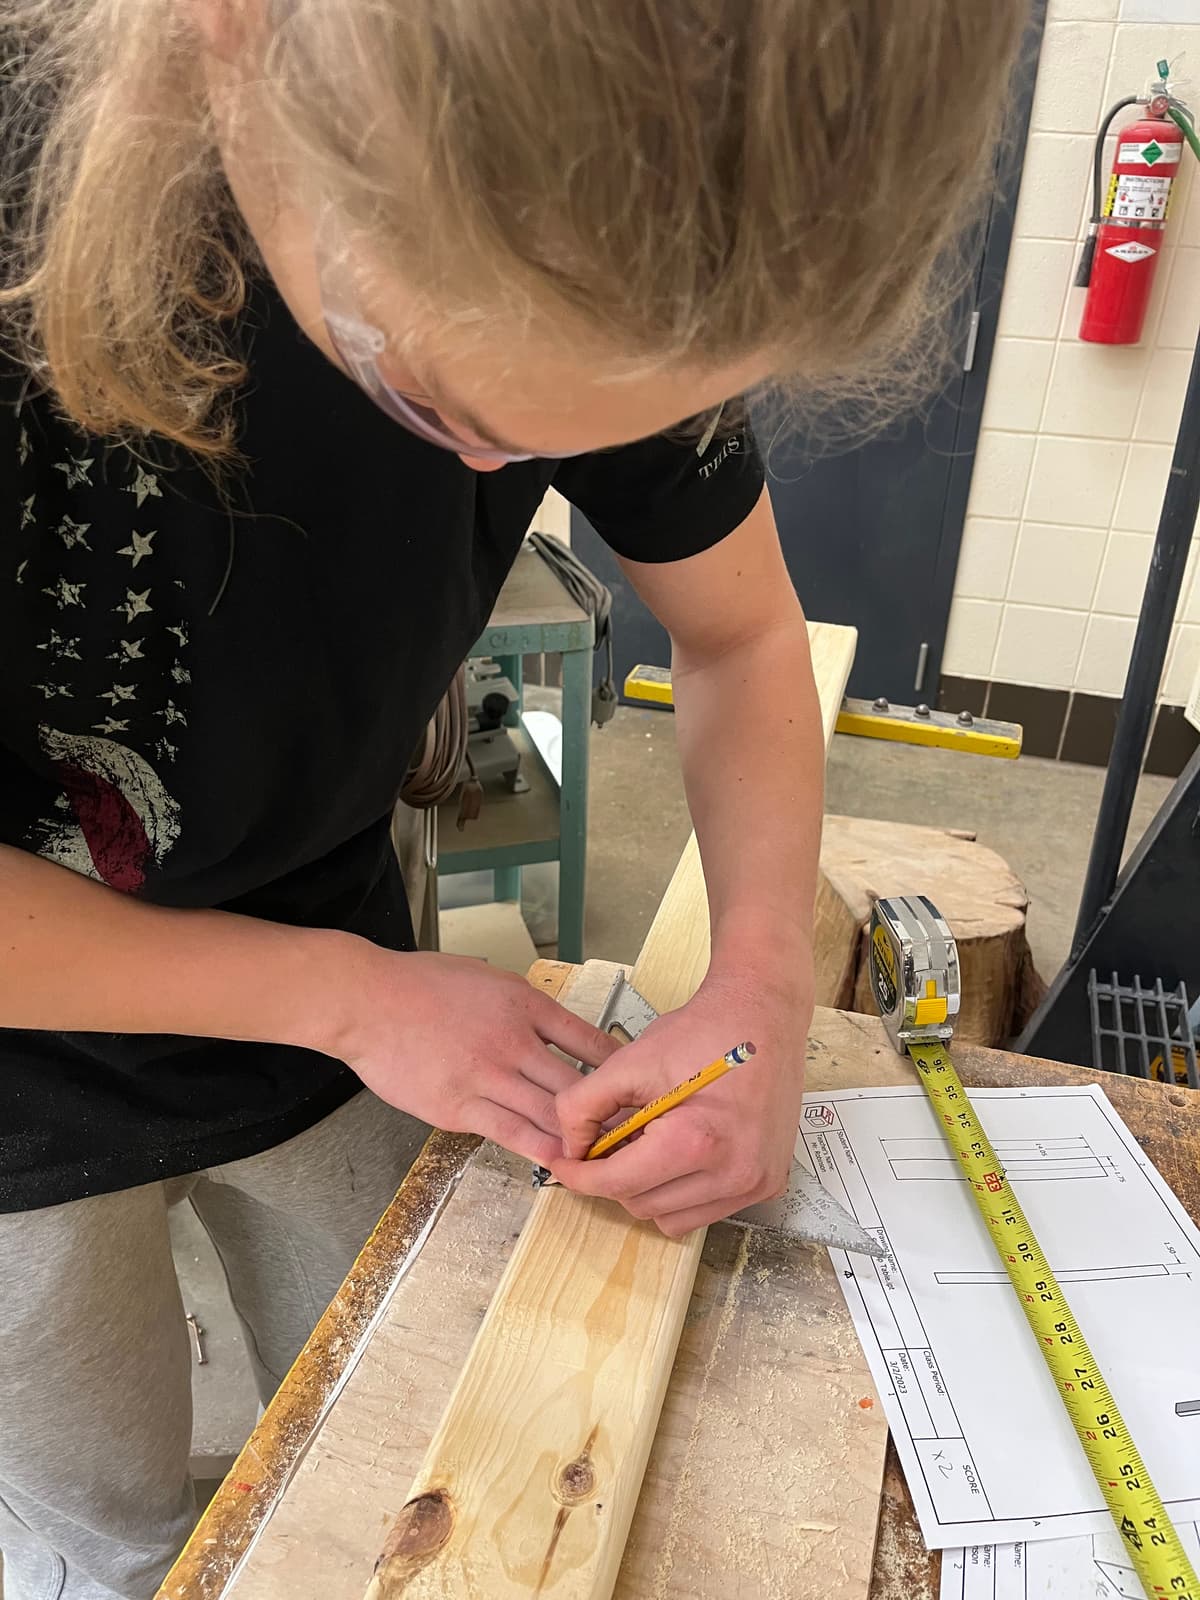
Once all the materials were cut, it was time to build the bench. During the construction phase, unexpected challenges emerged—such as misalignments and functional miscalculations—that forced me to revisit the design process multiple times. Each setback led to a better solution, ultimately contributing to a stronger final product.
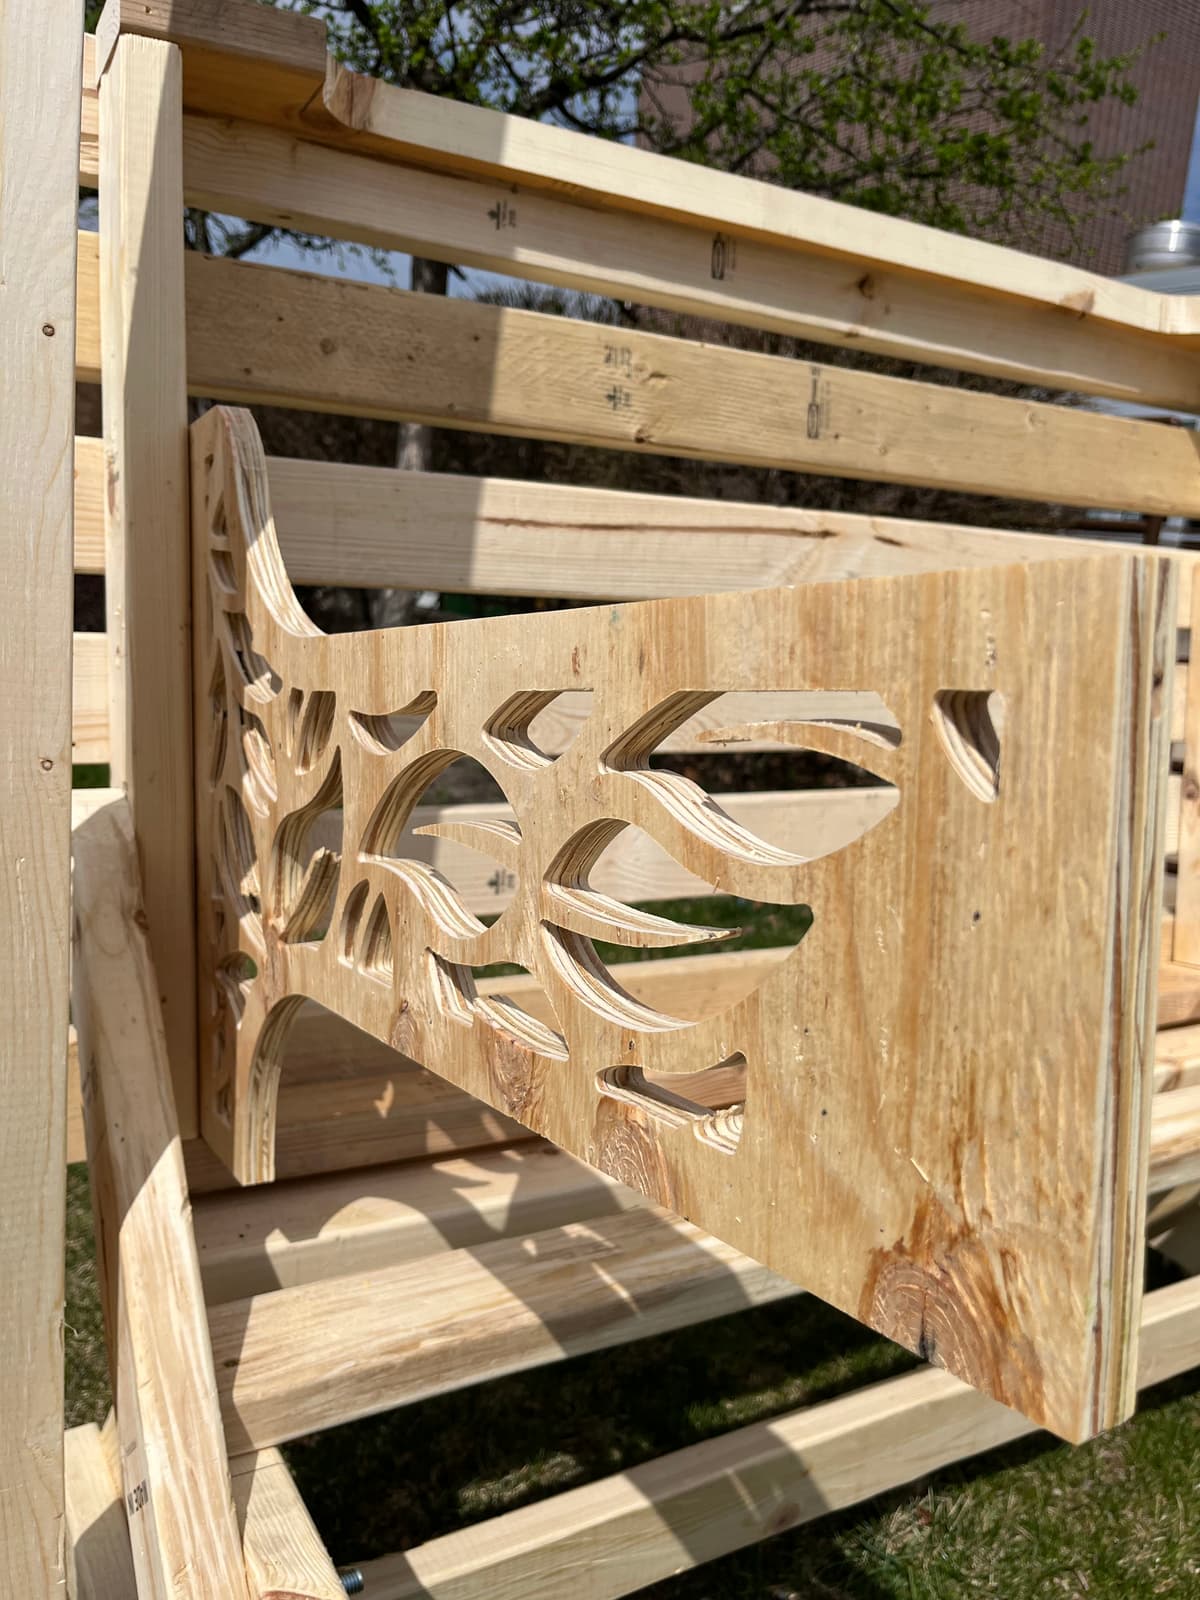
For a unique finishing touch, we CNC-cut a decorative plywood base, adding an aesthetic element that elevated the overall appeal of the design. And with that, the creation process came to a close—transforming a digital concept into a fully realized, functional, and beautiful piece of furniture.
🎯 Purpose & Impact
What challenge does your project address and for whom?
This multifunctional picnic table addresses the challenge of unsustainable environmental practices in the design and production of outdoor furniture. Traditional outdoor furniture often relies on heavy manufacturing processes that cause pollution and are powered by non-renewable energy sources—choices that many companies make to reduce costs.
Additionally, typical furniture pieces are often single-purpose, which increases the number of items needed in a space. This leads to more material consumption, less open space, higher costs, and more trees being cut down—all of which negatively impact the environment. This project aims to offer a sustainable, space-saving solution for individuals and communities who value eco-friendly, functional, and inclusive outdoor furniture.
What are the most important characteristics of the design, and how do they solve the problem?
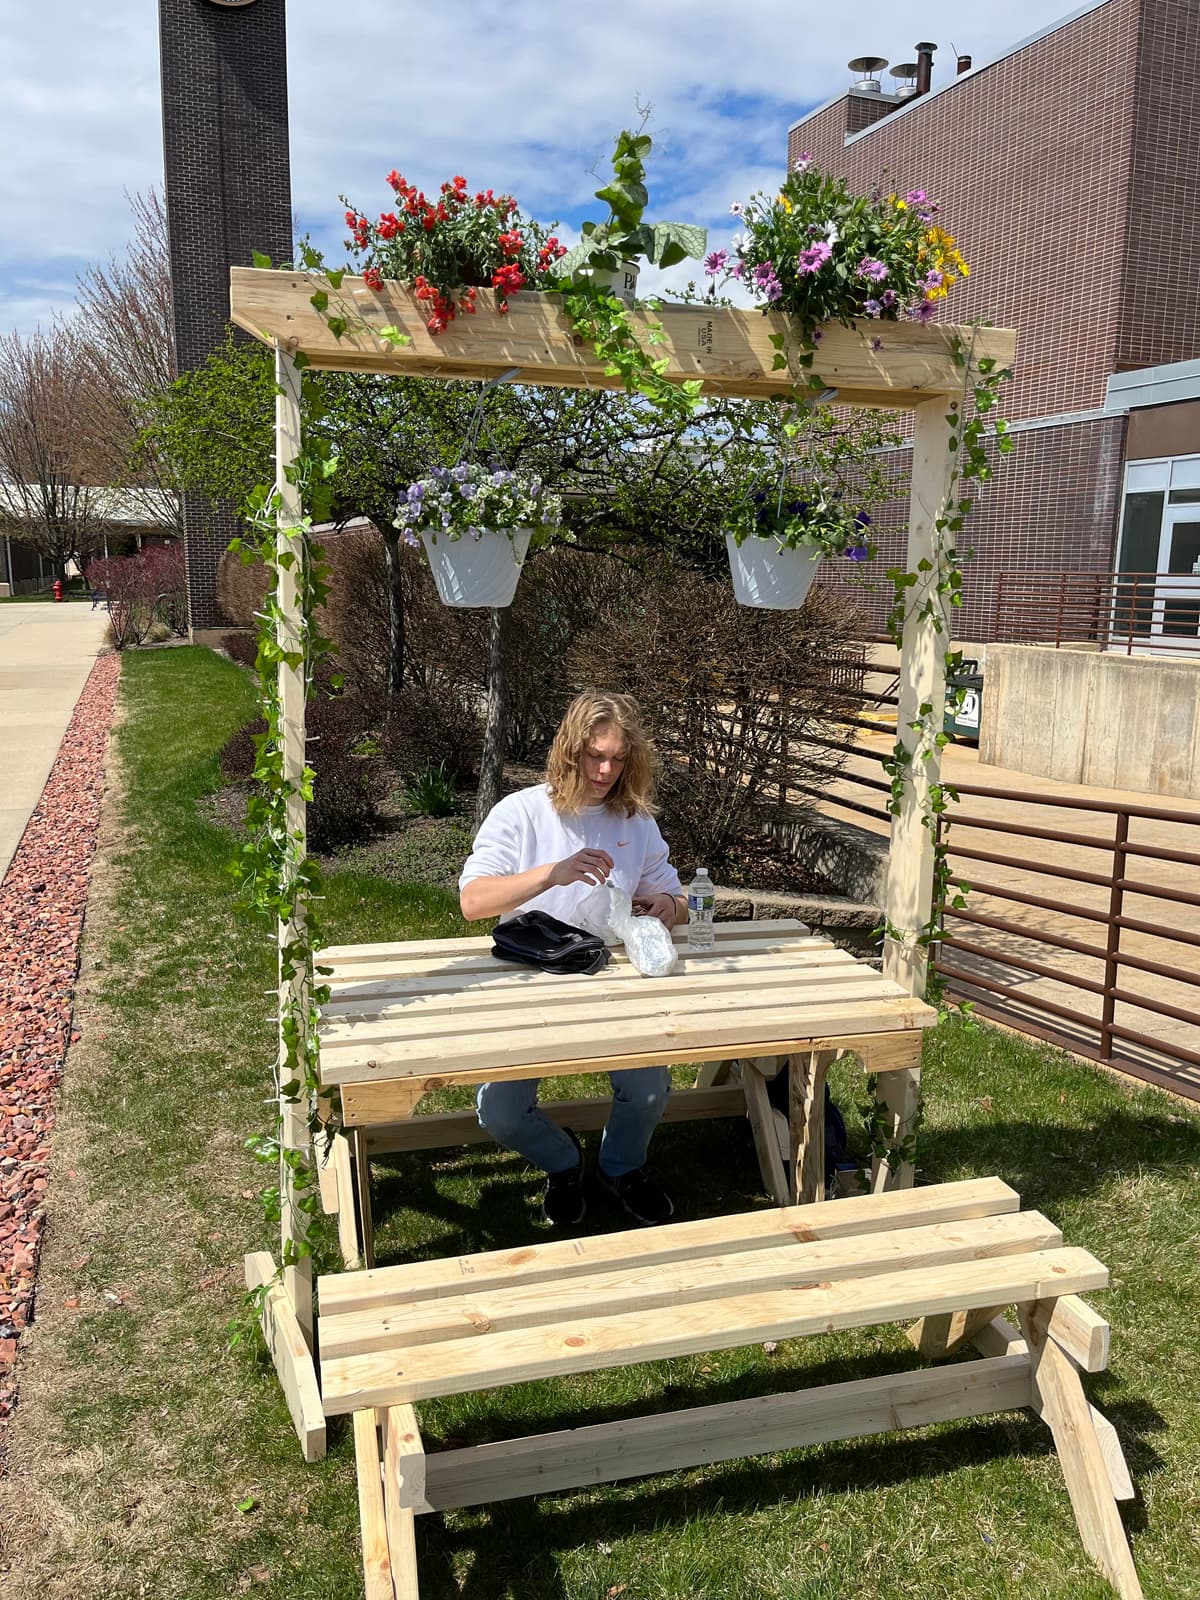
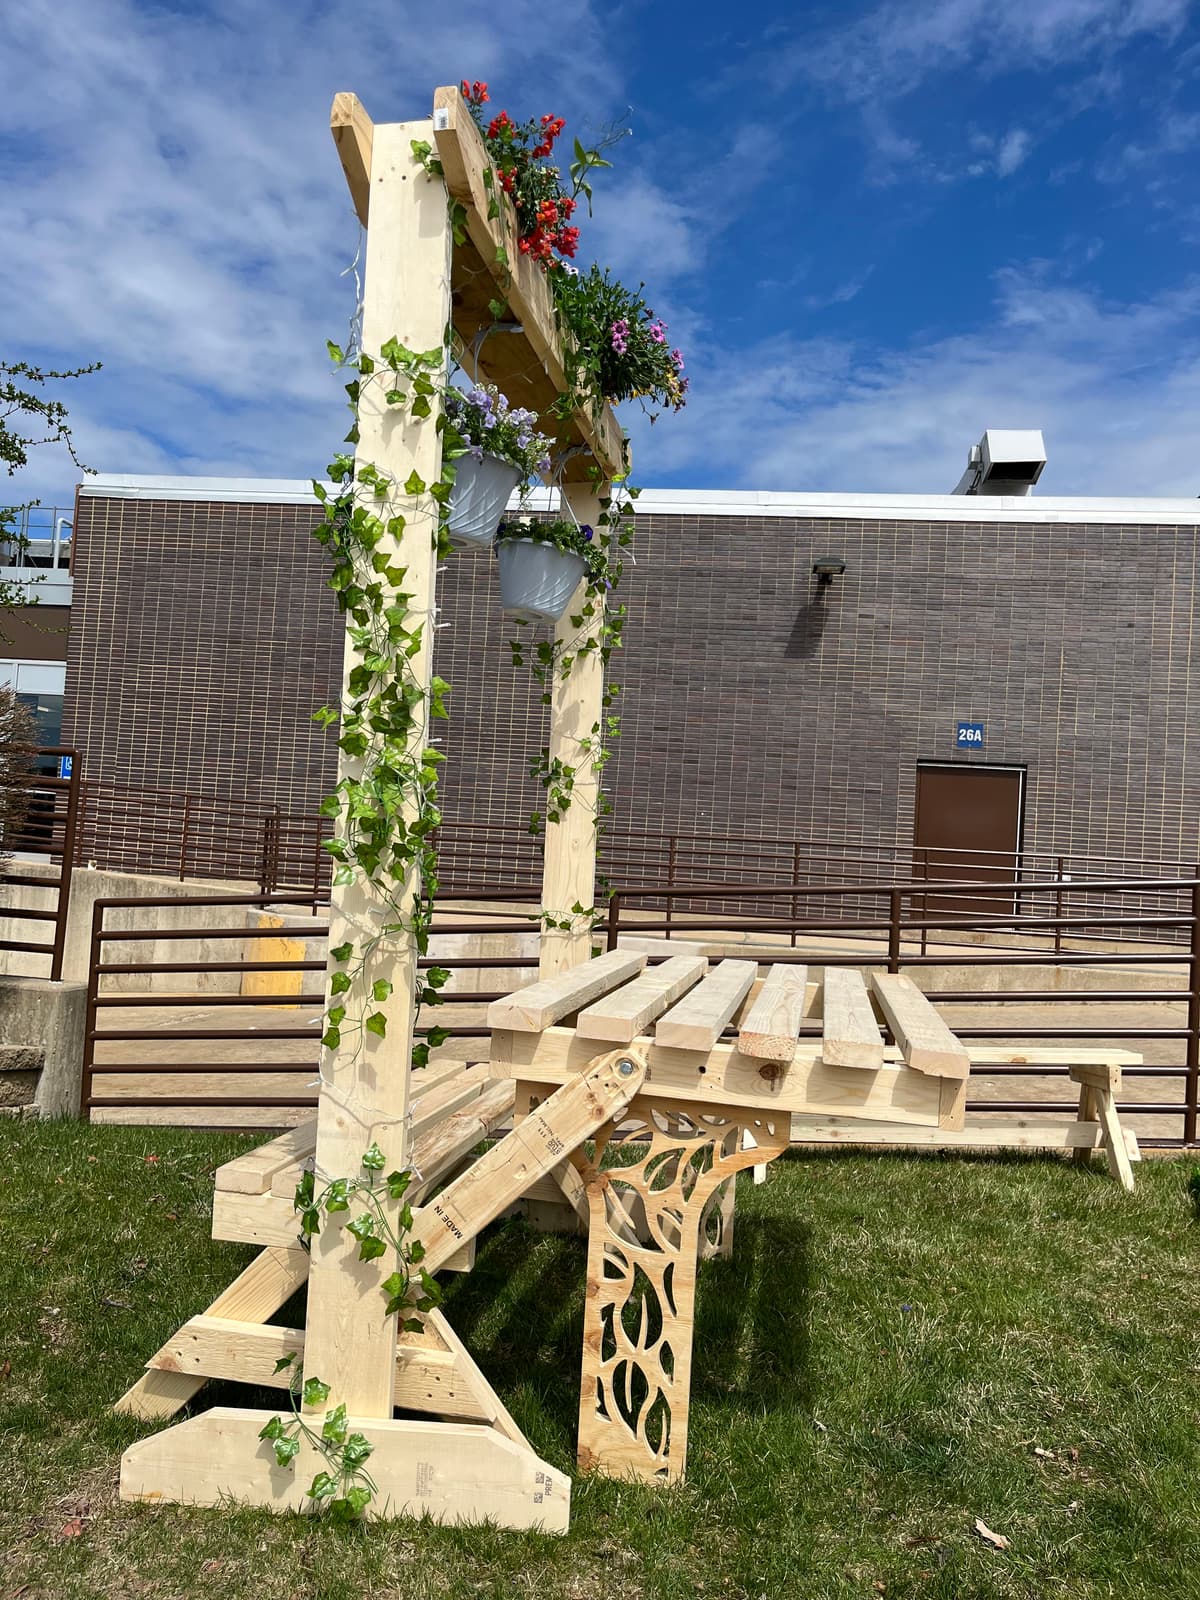
The design is multifunctional: it transitions seamlessly from a picnic table into a bench with a leg rest. By combining multiple furniture functions into one, it reduces the need for additional pieces, saving space, materials, and money. A key feature is the removable secondary bench, which acts as a leg rest when the main bench is in use, or can be removed entirely to accommodate a wheelchair—making the design ADA-accessible and inclusive.
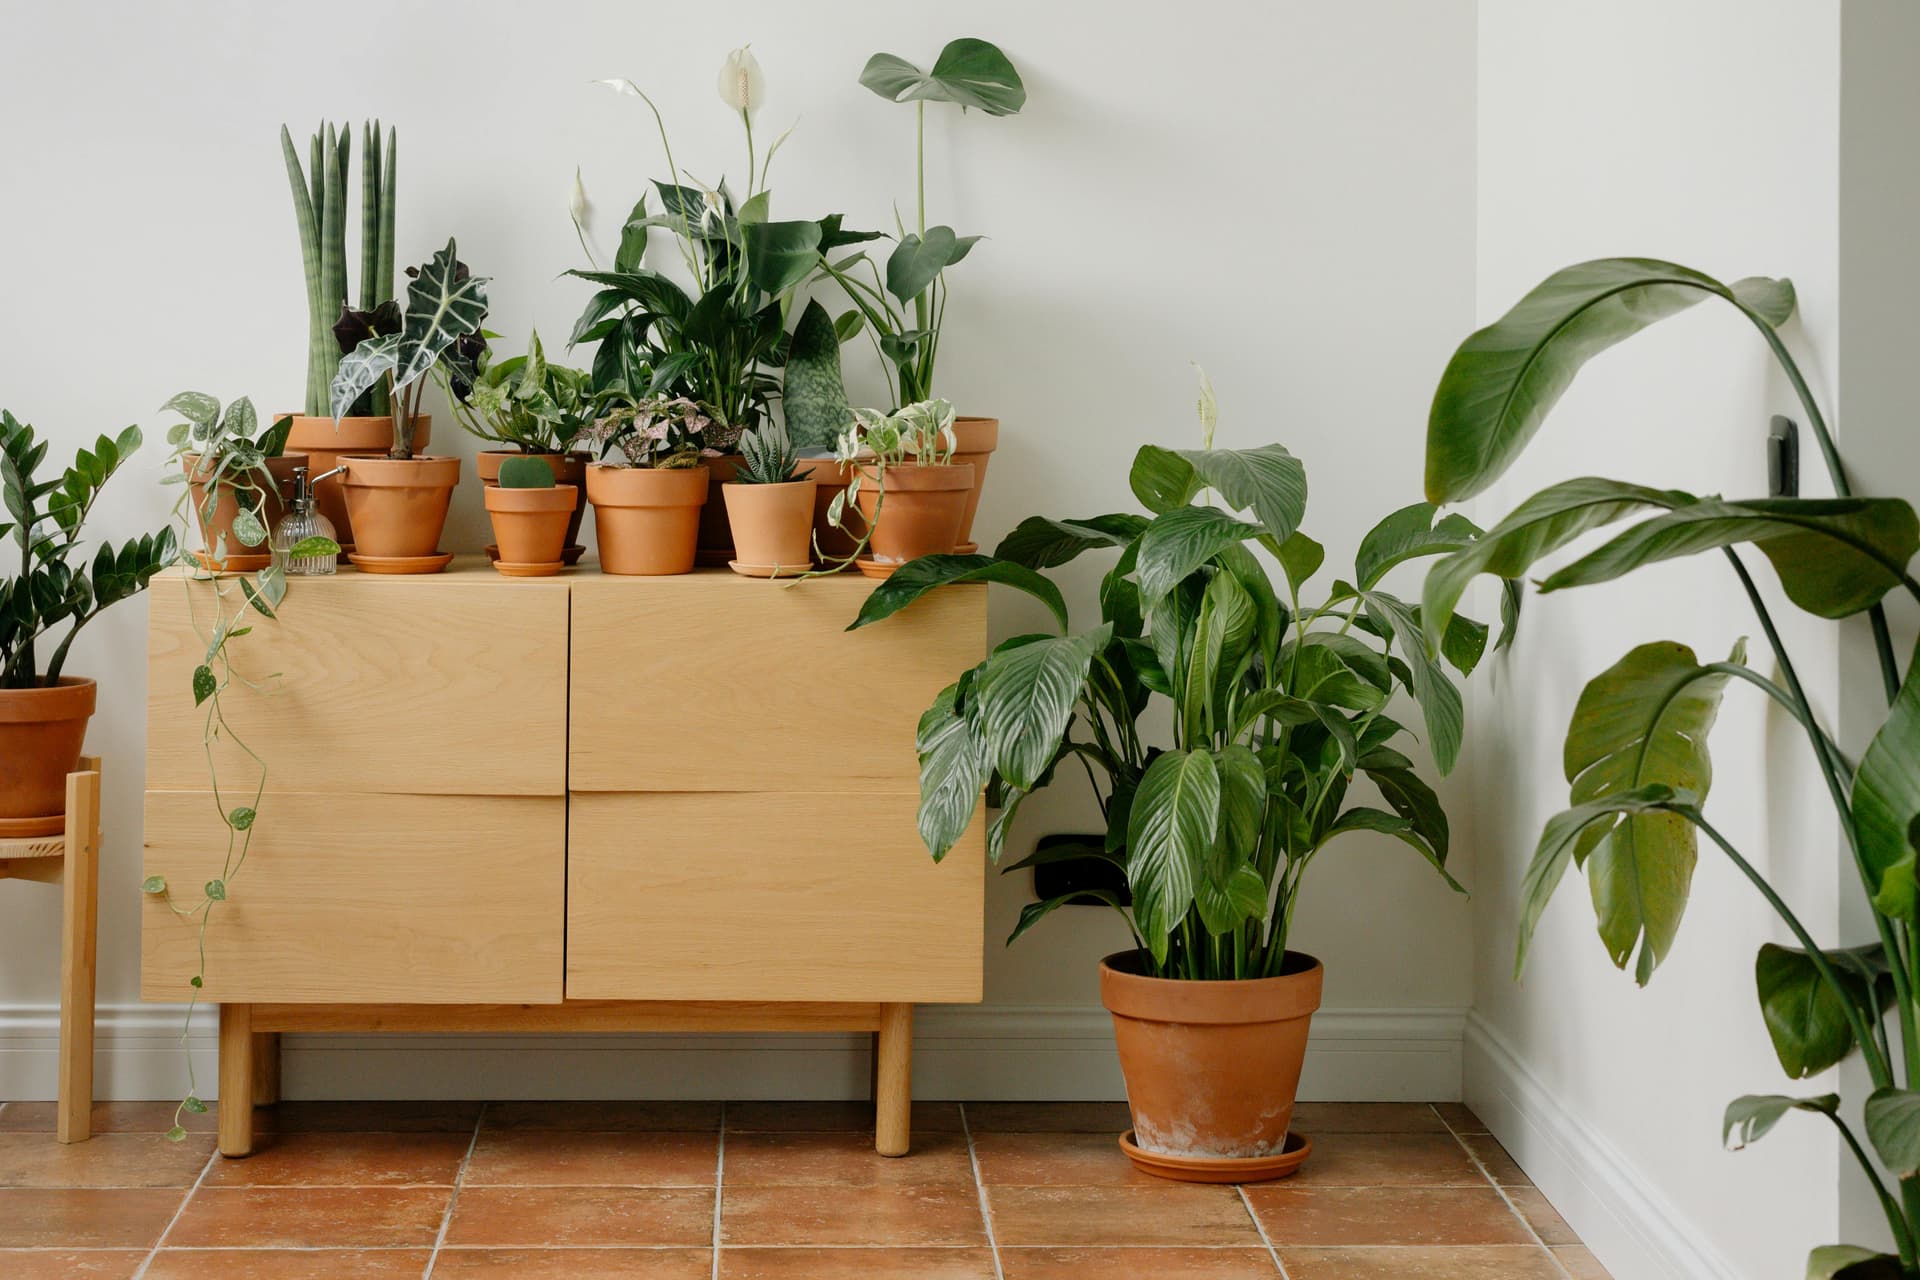
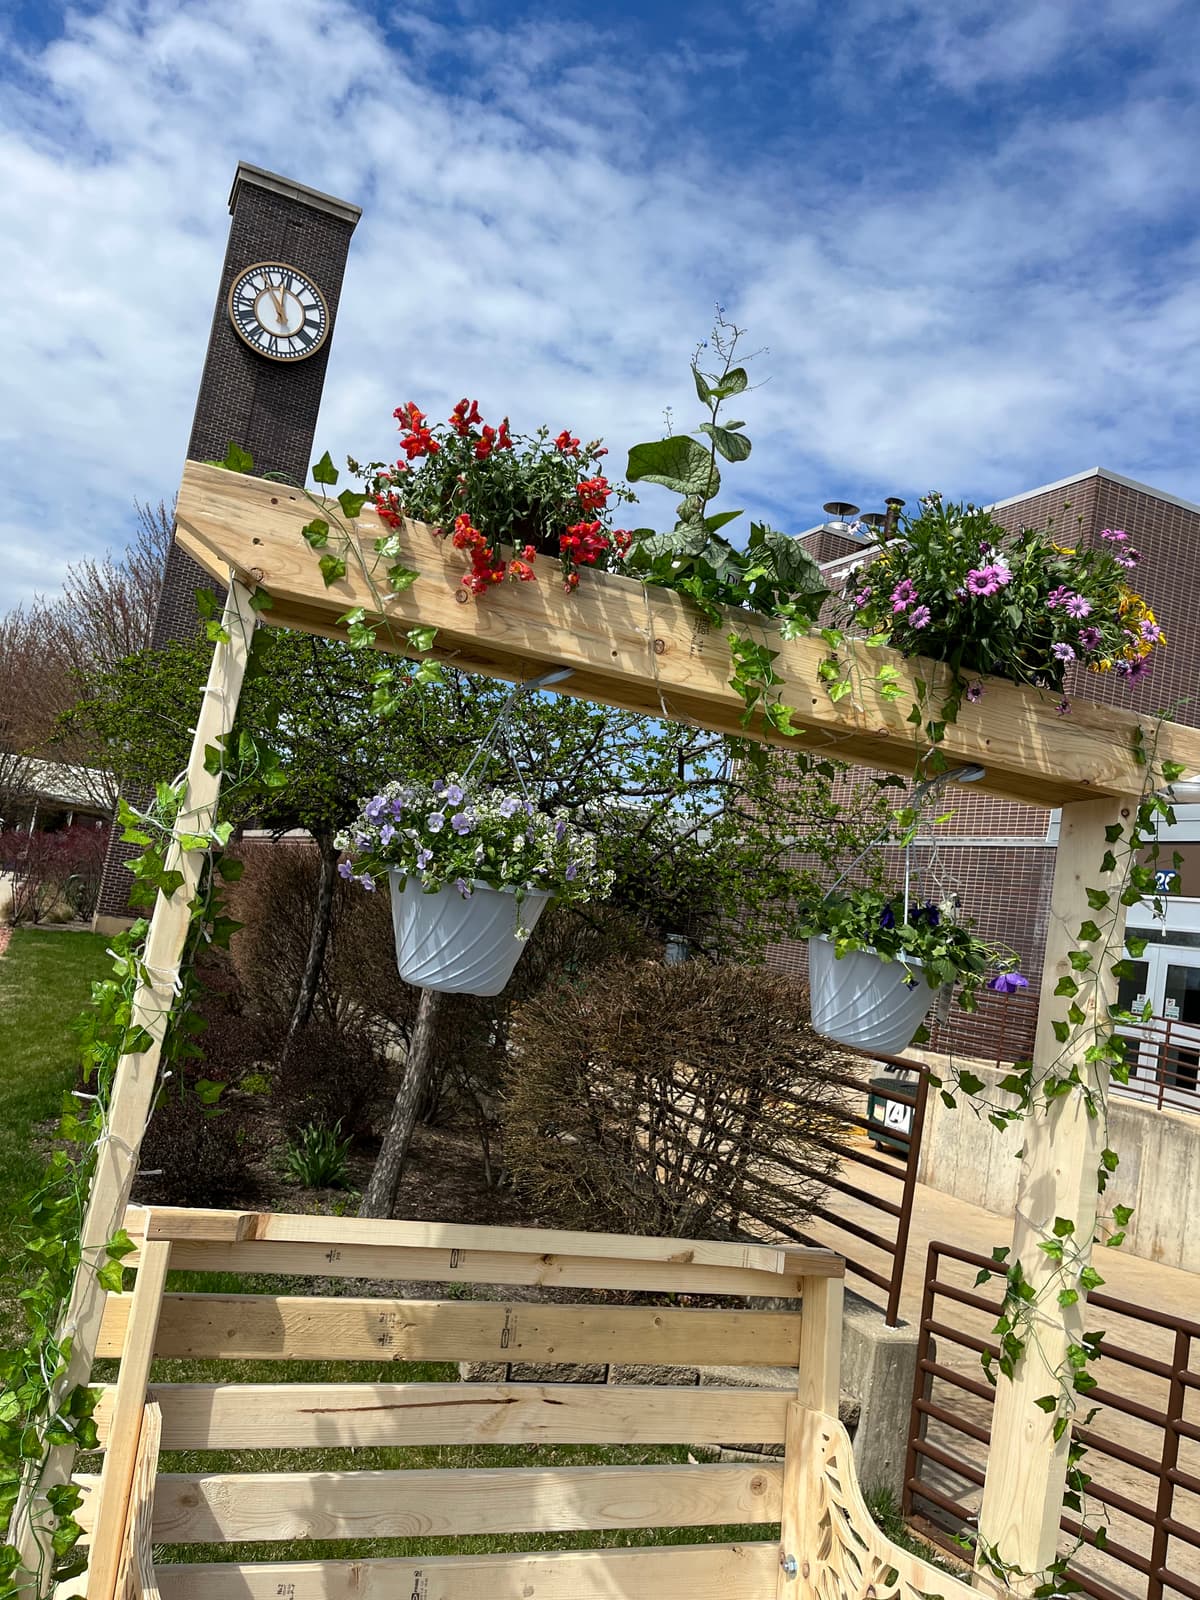
Another defining characteristic is the aesthetic appeal. The bench is surrounded by lush plant life and includes a pergola with climbing vines and a built-in planter box on top. This planter sits on treated lumber to support soil and flowers, enhancing the overall atmosphere. The thoughtful combination of beauty and function ensures the bench adds value both visually and practically.
How does your project address sustainability and biophilia?
Sustainability is at the core of this design. The bench uses less wood than traditional setups by integrating multiple functions into a single unit. This directly reduces deforestation and limits environmental impact. Furthermore, a built-in solar panel powers decorative lights attached to the bench. This use of renewable energy allows the bench to remain visually attractive at night without relying on external electricity sources, reinforcing the eco-friendly focus of the project.
Biophilia—the connection between humans and nature—is also strongly represented. The presence of live plants, climbing vines, and an integrated flower box fosters a calming and rejuvenating atmosphere. This not only improves the aesthetic but also supports mental well-being for anyone who uses the bench, helping to create a more natural, harmonious space.


🌱 Reflection – Multifunctional Bench Project
Working on this multifunctional bench project was both a pleasure and an amazing learning experience. It was incredibly rewarding to take my idea from a 3D model in Autodesk Inventor and bring it to life in the real world! Throughout this process, I developed a wide range of skills, but my favorite newly discovered one was woodworking—something I never expected to enjoy so much. Before this project, I had barely touched any power tools aside from a drill. Learning woodworking became one of the most memorable highlights. Beyond that, I also improved my skills in Inventor, especially in creating assemblies. I learned to manage time effectively, work under a deadline, and—most importantly—solve problems. There were countless moments when the bench design didn’t function as expected in real life, forcing me to re-engineer parts of it again and again. This made me truly appreciate the importance of adaptability and perseverance. Each step of the design process was uniquely applied in creating this multifunctional picnic table.
Design Process Overview
Step 1: Defining the Problem
My teacher presented us with a few project options for the semester, and one of them was the Architectural Biophilia Competition. I was intrigued and began exploring it further. I decided to take on the design challenge, which required creating an indoor or outdoor piece that incorporated elements of biophilia.
Step 2: Collecting Information
I researched the competition thoroughly to understand the requirements and began brainstorming potential project ideas.
Step 3: Brainstorming & Analyzing Ideas
After about a week of ideation—and gathering input from my teacher and classmates—I narrowed my ideas down to one that felt achievable and impactful.
Steps 4–6: Sketching, Feedback & Revisions
I created many concept sketches. Whenever an idea failed to meet the requirements, I moved into... Step 5 & 6: Gathering Feedback and Making Improvements With each setback, I re-entered the design cycle—making adjustments, reevaluating, and evolving the concept until I landed on the final version
Challenges & Solutions
There were many roadblocks along the way. While designing the 3D model, I had to create all 23 parts from scratch, carefully dimensioning each one, including angles and nail holes, to ensure a precise fit. The entire assembly required 133 constraints, and when some of them didn’t work properly, I had to backtrack, delete constraints, and redo the process—sometimes multiple times.
Eventually, I created a full 3D assembly, complete with an exploded view and CAD title blocks, which proved immensely helpful during the woodworking phase. Once I moved into construction, my teacher guided me in using the necessary woodworking tools. After cutting all the pieces to the correct lengths and angles, I began assembling the bench. This phase wasn’t without challenges either. Nails got stuck, some were misplaced, the bench’s physics didn’t match the design—the table was too tall, it wouldn’t stop at the right angle when converting into a bench, and more. But through discussion, planning, and trial and error with my teacher, we found workable solutions. Eventually, the bench was fully assembled, and I felt an overwhelming sense of accomplishment. Seeing my digital model come to life was truly amazing.
Final Thoughts
I wouldn’t change the way I went through the design process. The mistakes, re-engineering, and problem-solving all contributed to my learning. While there are always ways to improve a design, I’m proud of what I built and the journey it took to get there. Each flaw revealed an opportunity to grow, and that’s what made this experience so valuable.
🏆 Award Ceremony

